
Classification
This section is used to add the necessary information to help you manage your inventory and product statuses.
Inventory categories : The Inventory Categories button allows you to create inventory categories for item categorization.
Product attributes : The Product Attributes button allows you to create attributes that can be set to each product.
UPC codes : The UPC Codes button allows you to create custom UPCs (Universal Product Code).
Inventory status : The Inventory Status button allows you to create inventory status that makes it easier to manage your products.
Application zones : The Application zones button allows you to create various zones that can determine where you can configure different attributes for different regions.
RMA Steps : The RMA steps are used for businesses that offer repair services. In this case, businesses can take in a customer’s defective product and set up a step by step process to figure out if the product needs repair or is defective.
Price List : You can create various price list with various criteria that can be applied to customers, businesses and other stores in your network (if applicable)
How to create an Inventory category
- Click on the Setup icon in the upper right corner of your screen.
- Select the Inventory tab.
- Click on the Inventory categories button.
- Click +Item to create a category.
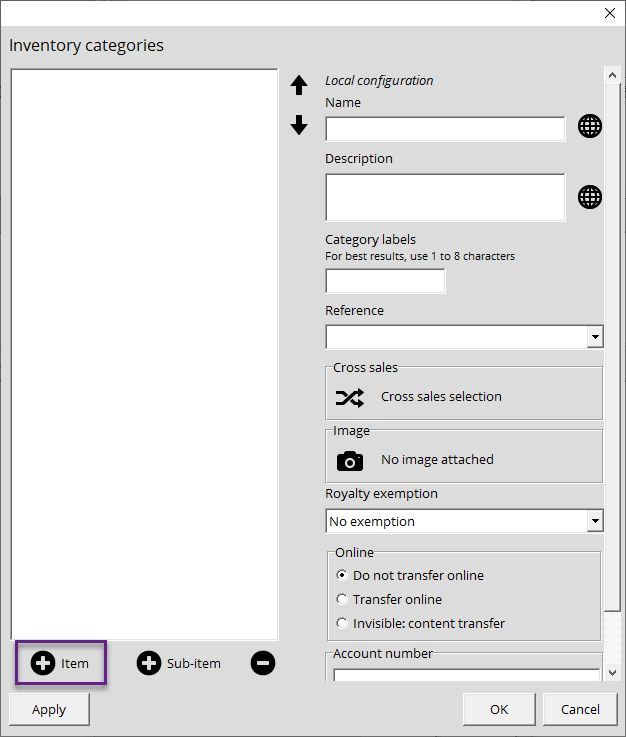
- Name the category; "Shoes" for example. On the right-hand side, you can add any additional information you deem relevant.
- In the Reference drop-down menu, you select whether you want this category to be included in your loyalty program or if it's a bundle- only category.
- Click Apply so the type is added in the tree on the left.
- Click OK.
How to create a product attribute
- Click on the Setup icon in the upper right corner of your screen.
- Select the Inventory tab.
- Click on the Product attributes button.
- Click +Item to create an attribute.
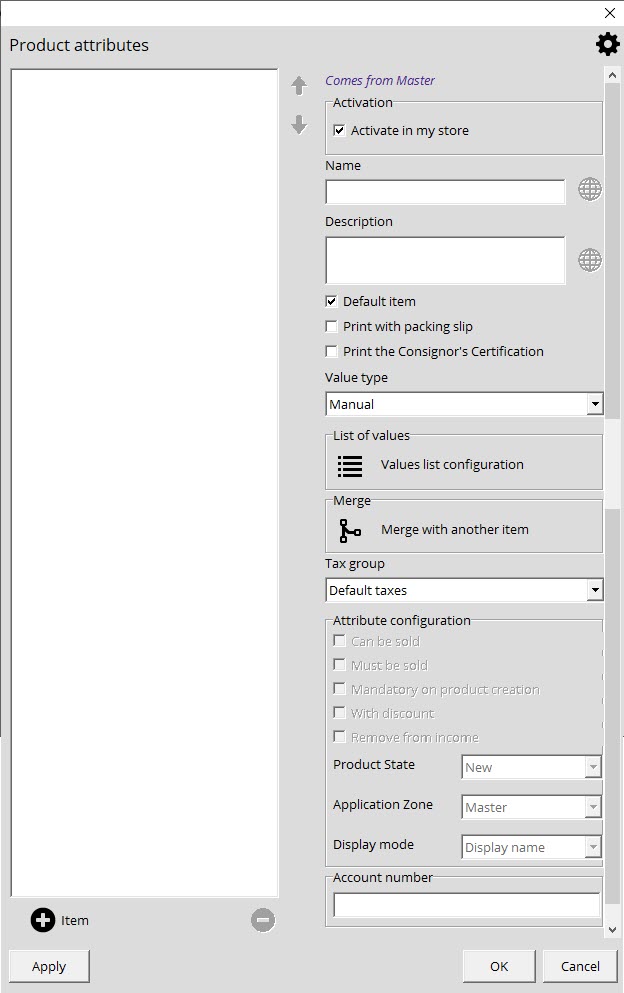
- Name the category; "Rating" for example. On the right-hand side, you can add any additional information you deem relevant to your category.
- Click Apply so the type is added in the tree on the left.
- Click OK.
How to create a UPC code
- Click on the Setup icon in the upper right corner of your screen.
- Select the Inventory tab.
- Click on the UPC code button.
- Click on +Item to create a UPC.
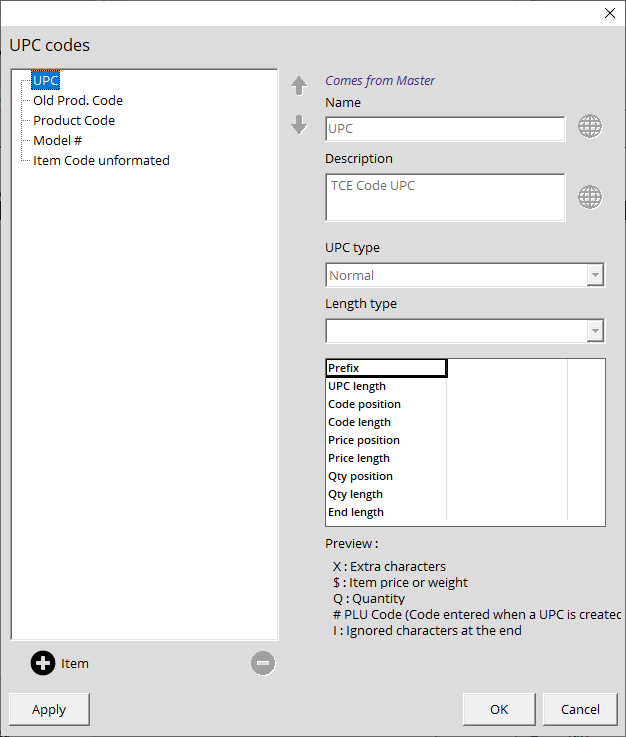
- Name the UPC; "UPC Terminal" for example. On the right-hand side, you can add any additional information you deem relevant to your UPC code.
- Click Apply so the type is added in the tree on the left.
- Click OK.
How to create an inventory status
- Click on the Setup icon in the upper right corner of your screen.
- Select the Inventory tab.
- Click the Inventory status button.
- Click +Item to create an inventory status.
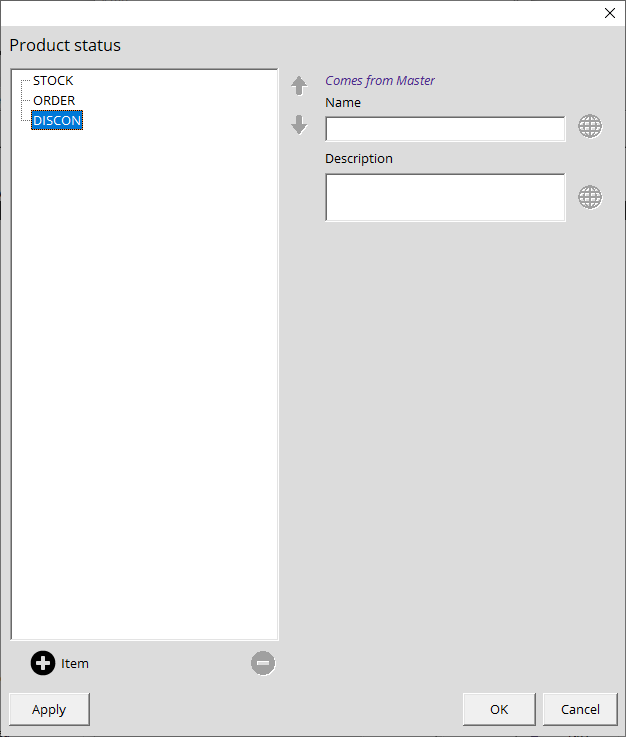
- Name the status; "RMA" for example. On the right-hand side, you can add any additional information you deem relevant to your status.
- Click Apply so the type is added in the tree on the left.
- Click OK.
How to create an Application zone
- Click on the Setup icon in the upper right corner of your screen.
- Select the Inventory tab.
- Click the Application zones button.
- Click +Item to create an application zone.
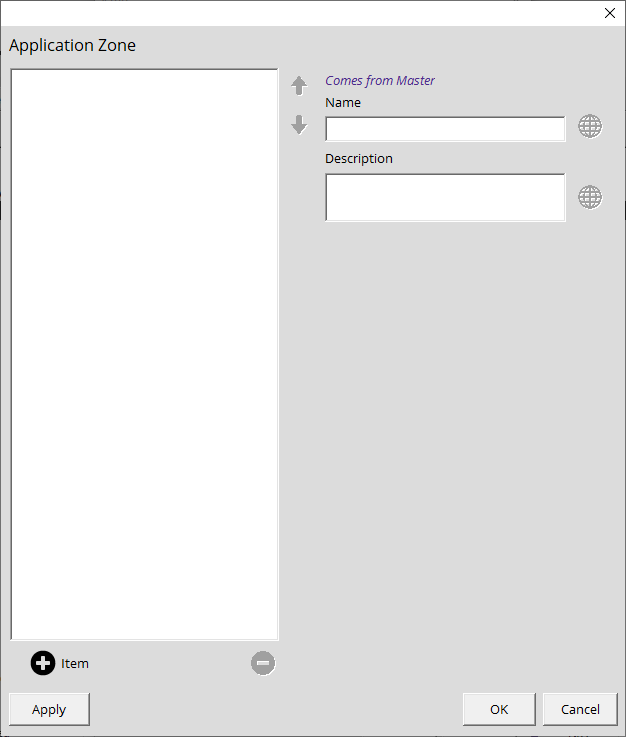
- Name the zone; "Quebec" for example. On the right-hand side, you can add any additional information you deem relevant to the zone.
- Click Apply so the type is added in the tree on the left.
- Click OK.
How to create an RMA step
- Click on the Setup icon in the upper right corner of your screen.
- Select the Inventory tab.
- Click the RMA steps button.
- Click +Item to create an RMA step.
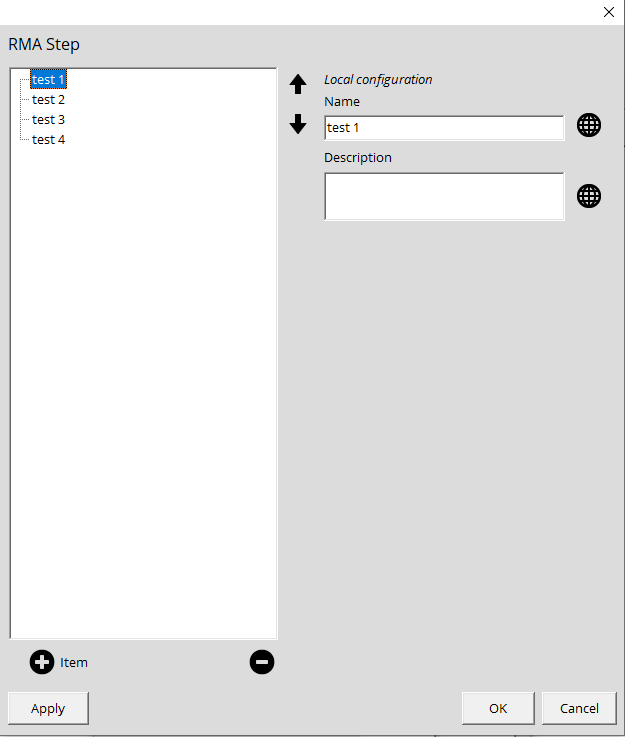
- Name the step; "Step 1" for example. On the right-hand side, you can add any additional information you deem relevant to your status.
- Click Apply so the type is added in the tree on the left.
- Click OK.
How to create a Price List
- Click on the Setup icon in the upper right corner of your screen.
- Select the Inventory tab.
- Click on the Price List button.
-
Simply follow the steps below to create your new price list:
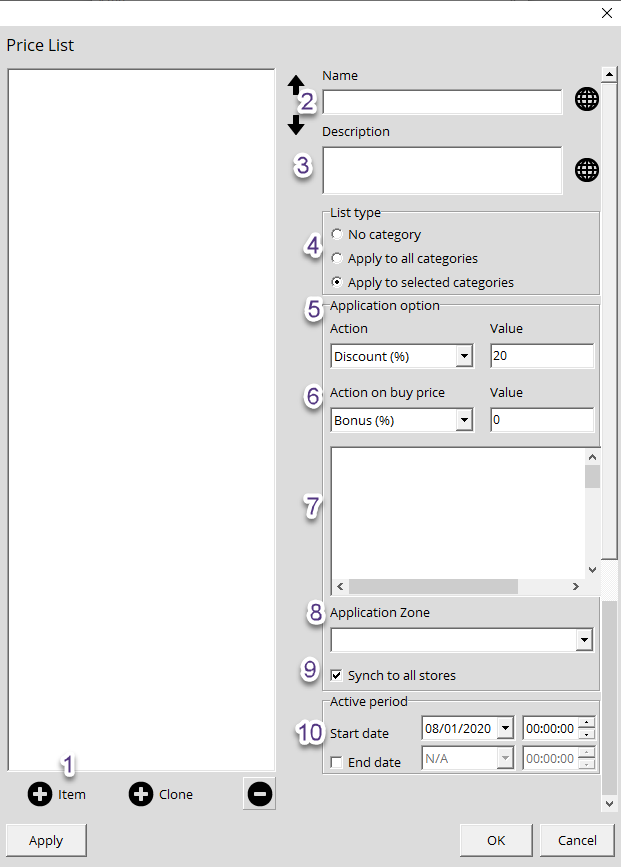
- Click +Item in the bottom left corner to create a new Price list.
- Name the Price list; "Employee Price List" for example.
- Add a description for your price list (optional).
- Assign a List type: Apply to all categories or Apply to selected categories
- Application option lets you select the type of discount: Discount (%), Cost + % or Cost + $. You then add a specific value.
- Action on buy price: Bonus (%) or Fixed Unit Price + $. You then add a specific value. This will let you increase the cost of items in your price list.
- Select the categories applicable to your discount if you selected "Apply to selected categories" on Step 4.
- Select the application zone for the price list
- Enable if you want the price list to be propagated into stores of your network (Master only)
- Active period is where you determine the start and end date for the price list.
- Click Apply so the price list is added in the tree on the left.
- Click OK.
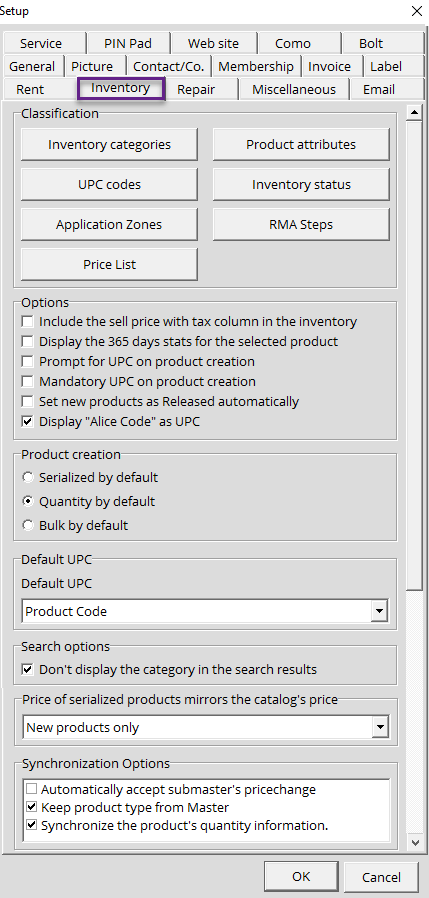
Options
These options will enable different information and requirements pertaining to viewing or creating items from the inventory module.
- Include the sell price with tax column in the inventory: This option adds a column to your Inventory list displaying the price with taxes.
- Display the 365 days stats for the selected product: This option will display quantity sold over the last 365 days of a selected item. This can be found on the Detail Price List tab when enabling Show Details.
- Prompt for UPC on product creation: Enabling this will prompt users to add the UPC first when creating a new item. If you don't have it yet, you can click cancel and you'll still be able to add the product. The UPC can either be added manually to scanned. If the UPC exists, you will be brought to the product's details.
- Mandatory UPC on product creation: Enabling this will prompt users to add the UPC first when creating a new item. This time, if you don't have the UPC, you will not be able to keep going in your product creation.
- Set new products as Released automatically: Enabling this will set newly created items as released and available for sale.
- Display "Alice Code" as UPC: Enabling this will use the digits from the Alice Code as a type of UPC.
Product Creation
The selected product type (Serial, Quantity, or Bulk) will be used as default when adding new items in the Catalog.
Reports
This option allows you to choose which UPC will be displayed on your reports.
Search options
Enabling " Don't display the category in the search results " will remove the Category column from the search results window when searching products from the invoice module.
Price of serialized items are following those of Catalog section
Allows the system to use the default prices set by the Master.
Synchronization Options
This section allows you to manage the synchronization of several stores across a network.
Automatically accept submaster's price changes
If you are part of a network managed by a submaster, this option pushes the submaster's price changes directly into the store without requiring your approval.
Keep product type from Master
This configuration forces the system to synchronize product types (quantity, serialized or bulk).
Synchronize the product's quantity information
Enabling this will force the synchronization of the Quantity tab from the Master's product. The following information can be configured from the Master file and is deployed throughout your network
- Request (Quantity) - New and Used Status
- Minimum quantity in inventory - New and Used status