
In the Invoice module, you can configure quick access buttons that are linked to either a general service, a quantity type product or bulk product. This feature allows for greater efficiency for your employees during daily operations.
Creating Quick Pick Button Pages
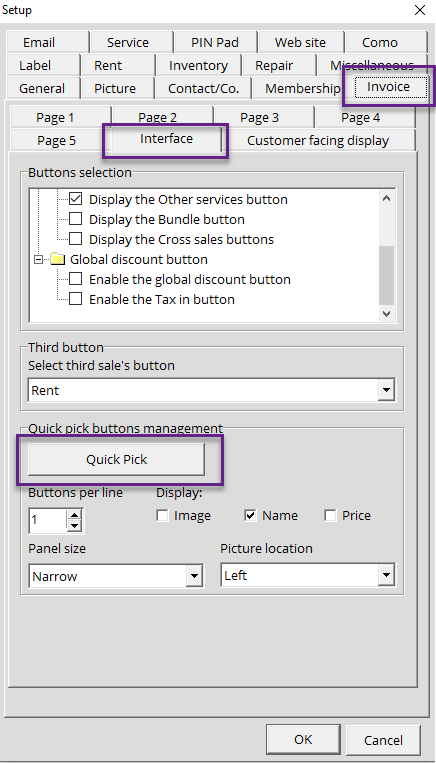
- Under the Configuration, select the Invoice tab
- Choose the Interface tab
- Click on the Quick Pick button
- In the Quick Pick page, click on +Item to create the parent button category and then click on Apply.
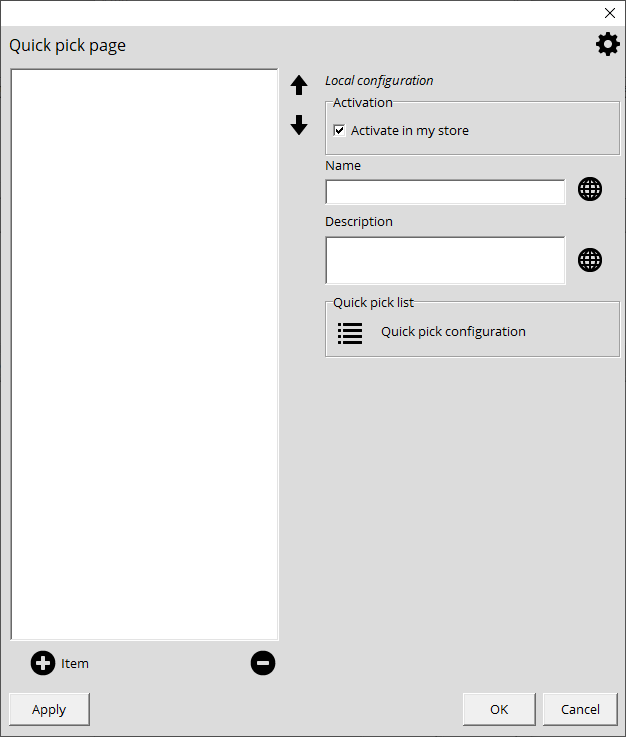
- Click on the Quick pick configuration button
In the Quick pick window, you can create blue buttons that will represent the pages containing your quick pick button. To create a new quick pick button, click on +Item, name the page and click on Apply.
Managing Quick pick buttons
Please note that the resulting display varies based on your monitor. If you work on two different screens, a 15" and 24", the configuration will remain intact but the display will be much more smaller and condensed on the 15" screen.
Buttons per line
This allows you to configure the number of quick pick buttons to use.
Display
You can also decide to display the name, image, and the price of a service or product linked to a quick pick button. You can tailor it to display everything or just the name.
Panel size
In order you give you a bit of freedom when it comes to the interface, you can choose from 4 button sizes, Please note that this only applies to the white buttons on the right-hand side of the invoice module:
- Narrow
- Standard
- Large
- Extra Large
Picture location
If you decide to display your product or service's photo, you can decide to display it at the top, bottom, left or right of the button.
Creating Quick Pick buttons
- On the Quick Pick window, create a button using +Item and name your button to find the product or service assigned to it.
- You must link your product or service to the previously created button. In the Product / Service section, enter the name of the item, choose whether it is a Product or a Service and click on the magnifying glass to find your item:
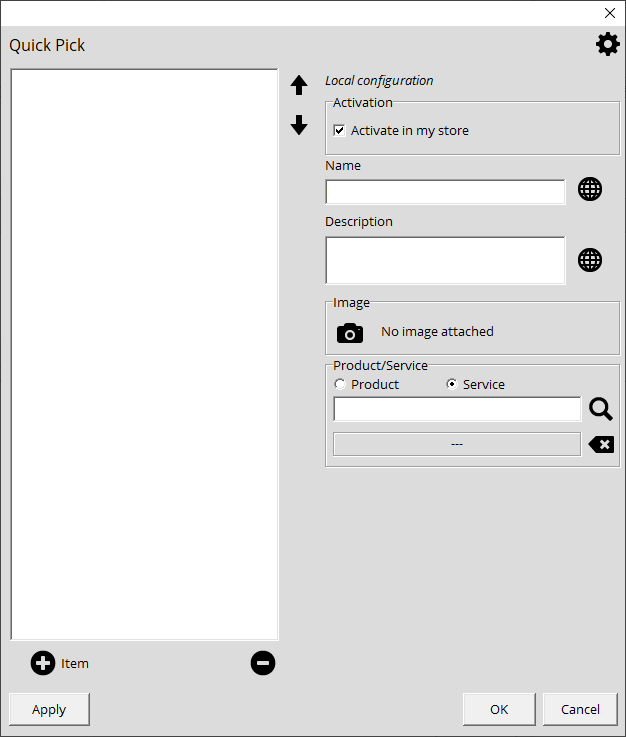
- Once all your buttons are created, click OK
- Exit configurations and go to the Invoice module. In the right panel, you will see your created buttons.
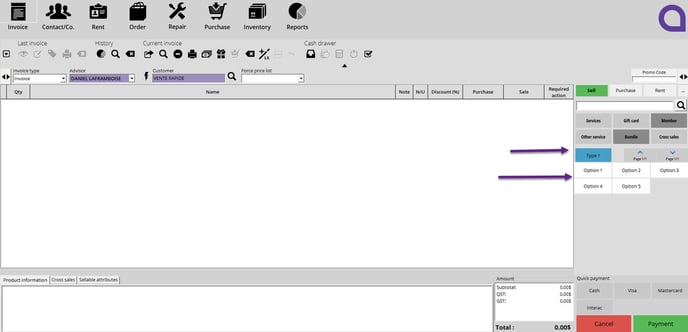
The blue buttons represent the Pages, while the gray ones represent the items contained on the page.
If you have only one quick pick page configured in your system, there won't be a blue button in the right panel. Only the buttons created below the main page button will be displayed.