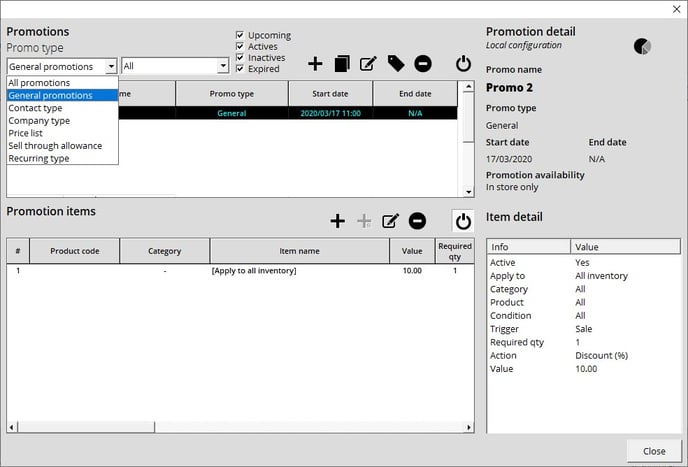
- In the Tools menu, select Promotions.
- Under Promotions type, select the targeted type.
- In the drop-down menu next to Promotion type, select the list to which this promotion is for. For example, if you have different Price lists, if you select Price List under Promotion type, you'll see a list of all your created price lists.
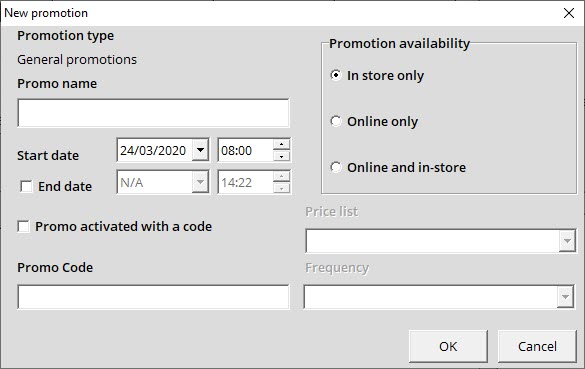
- In the promotions window, click the + button under Promo Type. Name your promotion.
- Specify the start and end date.
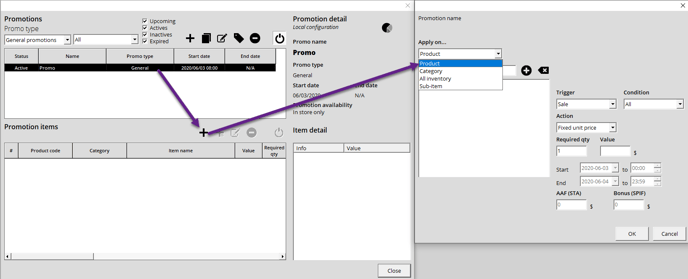
- To add a specific item to your promotion, click on the + sign under Promotion Items,
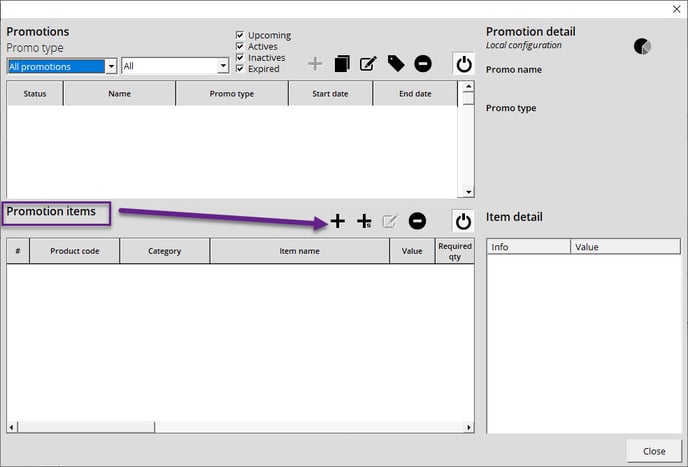
Adding a single product to your promotion
You can decide to promote a product by using the quick search or assign your promotion to a category, all inventory, or a sub-item via the drop-down menu. If you select category or all inventory, you will be prompted to confirm your selection via a Confirmation prompt.
For your promotion to be activated, make sure that you have applied the desired contact type to your customer.
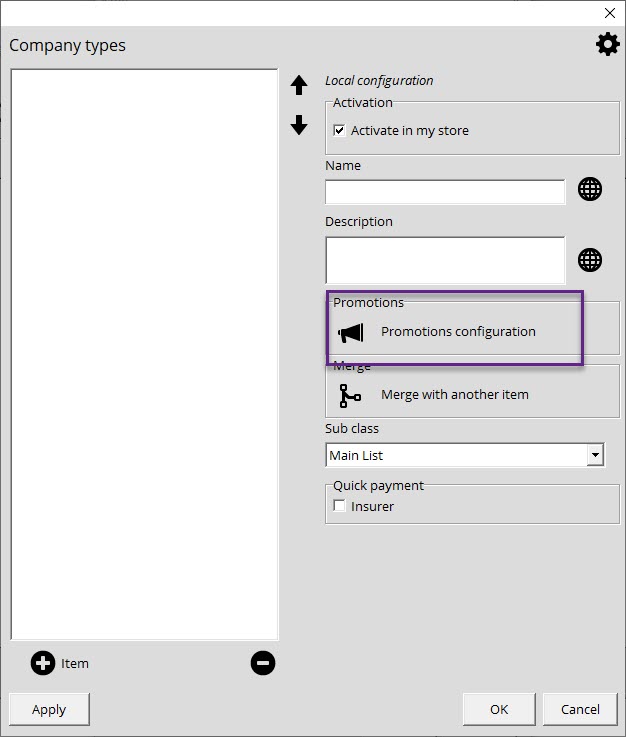
Assigning Promotions to Contact/Company type from Configuration
You can assign promotions by contact and company type.
- In the Setup window, select the Contact/Co tab.
- Select the group type you would like to provide with a promotion (Contact or Company).
- Click on Promotions Configuration.
- This will prompt the configuration window below.